Neovim Configuration with Lua
This tutorial is written to help you configure Neovim using Lua
Why Lua
- Neovim has an embedded lua runtime
- More reasons
Beginning
- 在安裝完 Neovim 後進入 Neovim 預設的 config 檔案路徑進行設定,後面所有的設定都是發生在這個檔案路徑底下
- Linux、BSD、macOS 在
~/.config/nvim/cd ~/.config/nvim/ - Windows 在
~/AppData/Local/nvim/cd ~/AppData/Local/nvim/
- Linux、BSD、macOS 在
- 如果看完這一篇
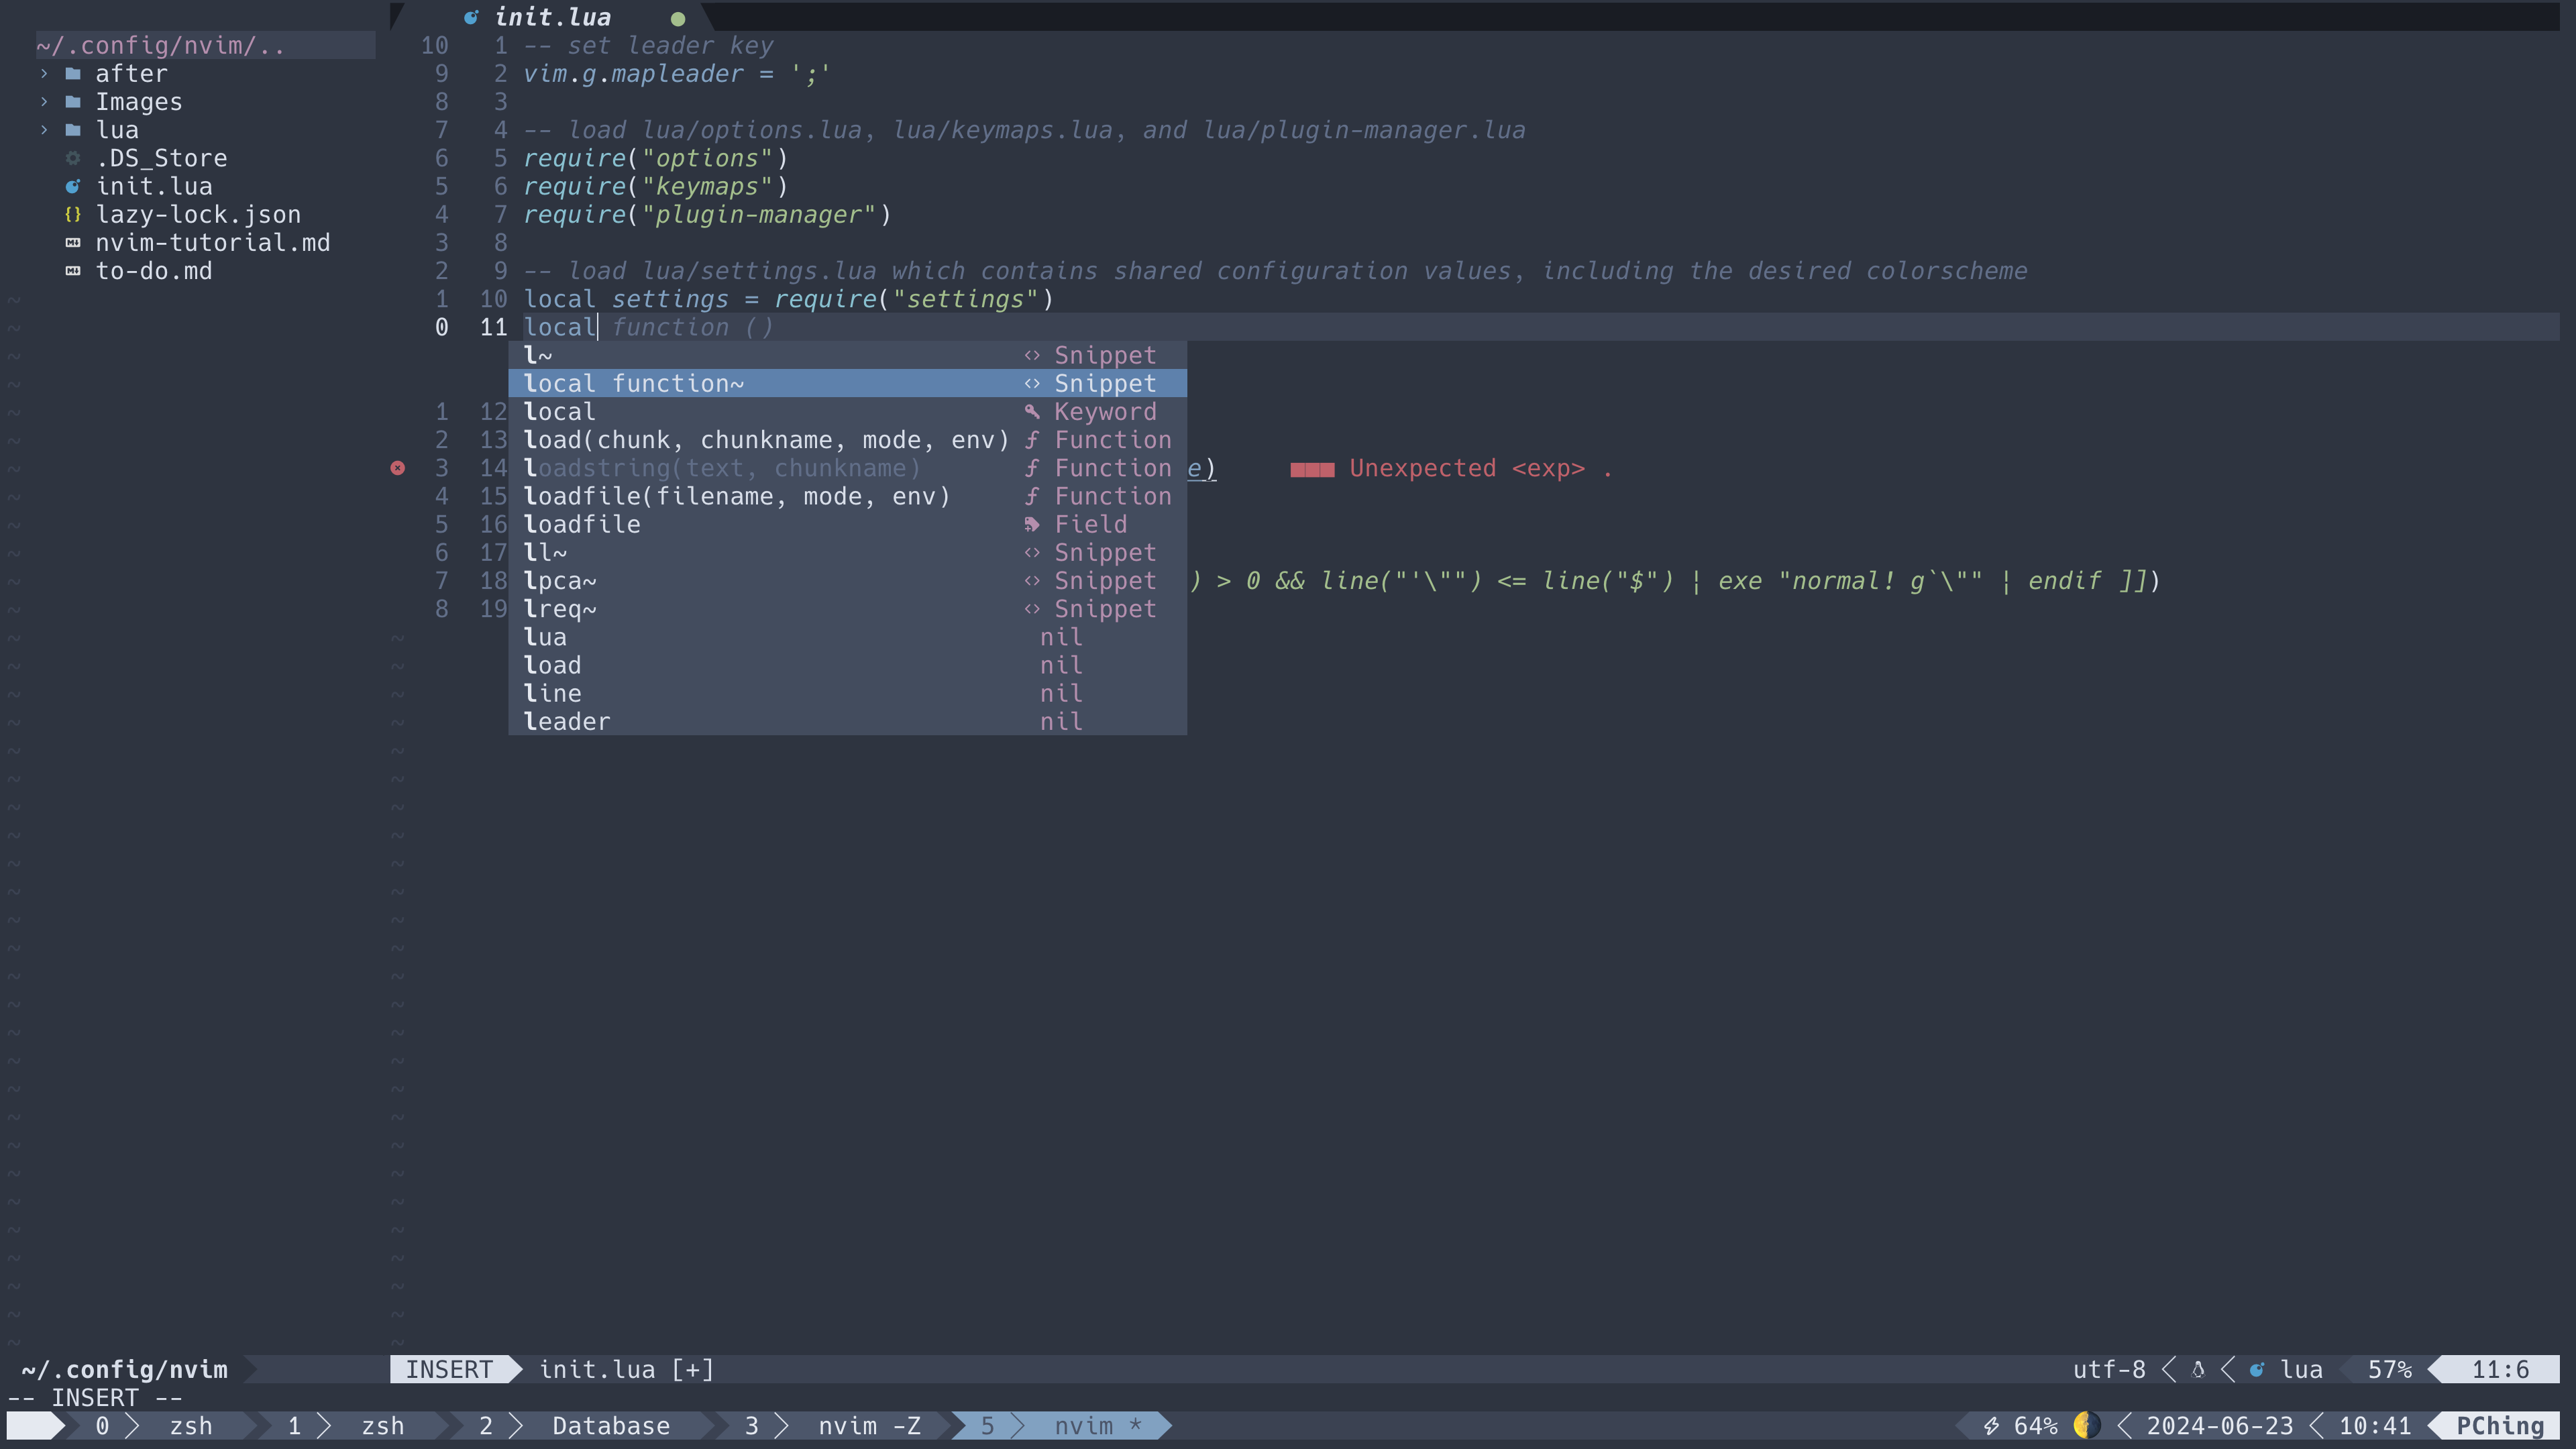
Neovim Configuration with Lua可以獲得利用 Lua 設定 key mappings 跟 options 的能力 - 如果看完整個 Neovim tutorial 包含 plugins 設定可以獲得長得像這張圖的 Neovim。(最下面那一行是 tmux status bar)

Directory Structure
使用 Lua 設定 Neovim 時,要可以正確載入 config 檔案,目錄結構會長得類似於下面的範例
~/.config/nvim # [ or ~/AppData/Local/nvim ]
|-- init.lua # [or init.vim (https://neovim.io/doc/user/lua-guide.html#lua-guide-config)]
|-- lua/
    |-- module_a.lua # (e.g. keymaps.lua or options.lua)
    |-- plugin-manager.lua
    |-- plugins/
        |-- init.lua
        |-- plugin_a.lua
        |-- plugin_b.lua
- 在 config 檔案路徑下通常會有兩個檔案:
init.lua或init.vim。這個init檔案是設定檔的載入點- Neovim 支援在
init.lua或init.vim使用 Lua 或 Vimscript
- Neovim 支援在
lua/資料夾下放置 Lua modules
Code in init.lua or init.vim
在 init.lua 或 init.vim 中利用 require("<lua_module>") 載入 lua/ 下的 Lua modules。
在下面範例中 options、keymaps、plugin-manager、settings 都是 lua/ 下後綴為 .lua 的 Lua 檔案
-- set leader key
vim.g.mapleader = ';'

-- load lua/options.lua, lua/keymaps.lua, and lua/plugin-manager.lua
require("options")
require("keymaps")
require("plugin-manager")

-- load lua/settings.lua which contains shared configuration values, including the desired colorscheme
local settings = require("settings")

-- set colorscheme
vim.cmd('colorscheme ' .. settings.colorscheme)
Lua Modules
-
如同前面提到 Neovim 會透過
require("<lua_module>")載入 Lua modulesLua modules are found inside a
lua/folder in your'runtimepath'(for most users, this will mean~/.config/nvim/luaon *NIX systems and~/AppData/Local/nvim/luaon Windows). You canrequire()files in this folder as Lua modules.Place Lua files in the
lua/directory in‘runtimepath’and load them with require -
Lua modules 可以透過不同種的寫法載入
- Load
lua/module_a.luarequire("module_a") - Load
lua/plugins/plugin_a.luarequire('plugins/plugin_a')
-- or
require('plugins.plugin_a') - Load
lua/plugins/init.luarequire('plugins')
- Load
Key Mappings
- You can customize Neovim's key bindings by mapping either Vim commands or Lua functions to key sequences
- You can create a new file named
keymaps.luato hold the mapping code.- Place the file in the
lua/directory - Load the file in
init.lua
- Place the file in the
keymap Function in Lua
- Neovim's API
vim.api.nvim_set_keymapsets a global mapping for the given mode - Function interface:
nvim_set_keymap({mode}, {lhs}, {rhs}, {opts})mode: Mode short-name (e.g.n,i,v, …) 要綁定的 modelhs: Left-hand-side of the mapping. 要把什麼 key 綁定功能(之後使用的快捷鍵)rhs: Right-hand-side f the mapping. 要綁定什麼功能opts: Optional parameters map. 綁定設定,通常會設定noremap和silent(我沒找到完整的文件 list)noremap為 true 是指這個 mapping 是 non-recursive,它會直接 map 到rhs上,把rhs當作 literal string of commands 執行,而不會使用rhsmapping 後的結果silent為 true 就是不會在 command line 顯示你使用的rhs,意即能在使用快捷鍵時不受干擾
Code in keymaps.lua
- Assign a variable
keymapto hold a reference to the functionlocal keymap = vim.api.nvims_set_keymap - Assign a variable
optsto hold opts argumentslocal opts = { noremap = true, silent = true } - Call
keymapfunctionkeymap({mode}, {lhs}, {rhs}, opts)- Example:
keymap("n", "<C-L>", ":update", opts)means "usingCtrl+lto save file in NORMAL mode"
- Example:
Some Recommended Mappings
Move text up and down
keymap("n", "<M-j>", ":m .+1<CR>==", opts) -- Move text down
keymap("n", "<M-k>", ":m .-2<CR>==", opts) -- Move text up
Return to NORMAL Mode Quickly
- 難以無法割捨的 keymap
keymap("i", "jj", "<ESC>", opts)
Close Buffer
- 前言:無法滑順地將 buffer 關閉是困擾我許久的問題,幸好最後解決的
- 如果只用
:bd關到最後一個的時候會長出 [No name] buffer - 滑順地將 buffer 關閉:利用快捷鍵將 buffer 關閉,並在剩下一個 buffer 時關掉整個 window
- 如果只用
-- Function to close buffer or window
function Close_buffer_or_window()
    vim.api.nvim_command('bn!')
    local success = pcall(vim.api.nvim_command, 'bd#')
    -- Check if there is only one window left
    if not success or #vim.api.nvim_list_wins() == 1 then
        vim.api.nvim_command('q')
    end
end

-- Map a key to call the function to close buffer or window
vim.api.nvim_set_keymap("n", "<C-\\>", "<CMD>lua Close_buffer_or_window()<CR>", { noremap = true, silent = true })
- 先跳到下一個 buffer 再利用檢查是否能刪除前一個 buffer 判斷要關閉 buffer 還是關閉整個 window
Options
- You can customize various options and settings for Neovim.
- You can create an
options.luafile in your Neovimluadirectory- Place the file in the
lua/directory - Load the file in
init.lua
- Place the file in the
A Convenient Way
- A special interface
vim.optuse table indexing to set options- Example:
vim.opt[key] = value
- Example:
Code in options.lua
- Assign a variable
optionsto hold key-value pairs representing the optionslocal options = { <opt_key1> = <opt_value2>, ... }- Example
local options = {
    number = true,
    relativenumber = true,
    smartindent = true,
    smartcase = true,
    termguicolors = true,
    ruler = true,
    cursorline = true,
    encoding = "UTF-8",
    fileencodings = "utf-8",
    smarttab = true,
    expandtab = true,
    shiftwidth = 4,
    tabstop = 4,
    hidden = false,
    mouse="i",
    statuscolumn = "%s%2r  %2l ",
    signcolumn = "yes"
- Example
- Iterate the
optionstable to set optionsfor key, value in pairs(options) do
vim.opt[key] = value
end